

- Sound OutputOptical / External Speaker / Audio System
-
Digital Audio Format✓Use:PCM or Stereo×Do not use:Dolby, DTS, Auto, or BitstreamThese may produce silence.
- Play audioPlay a program with speaking voices.
TV
→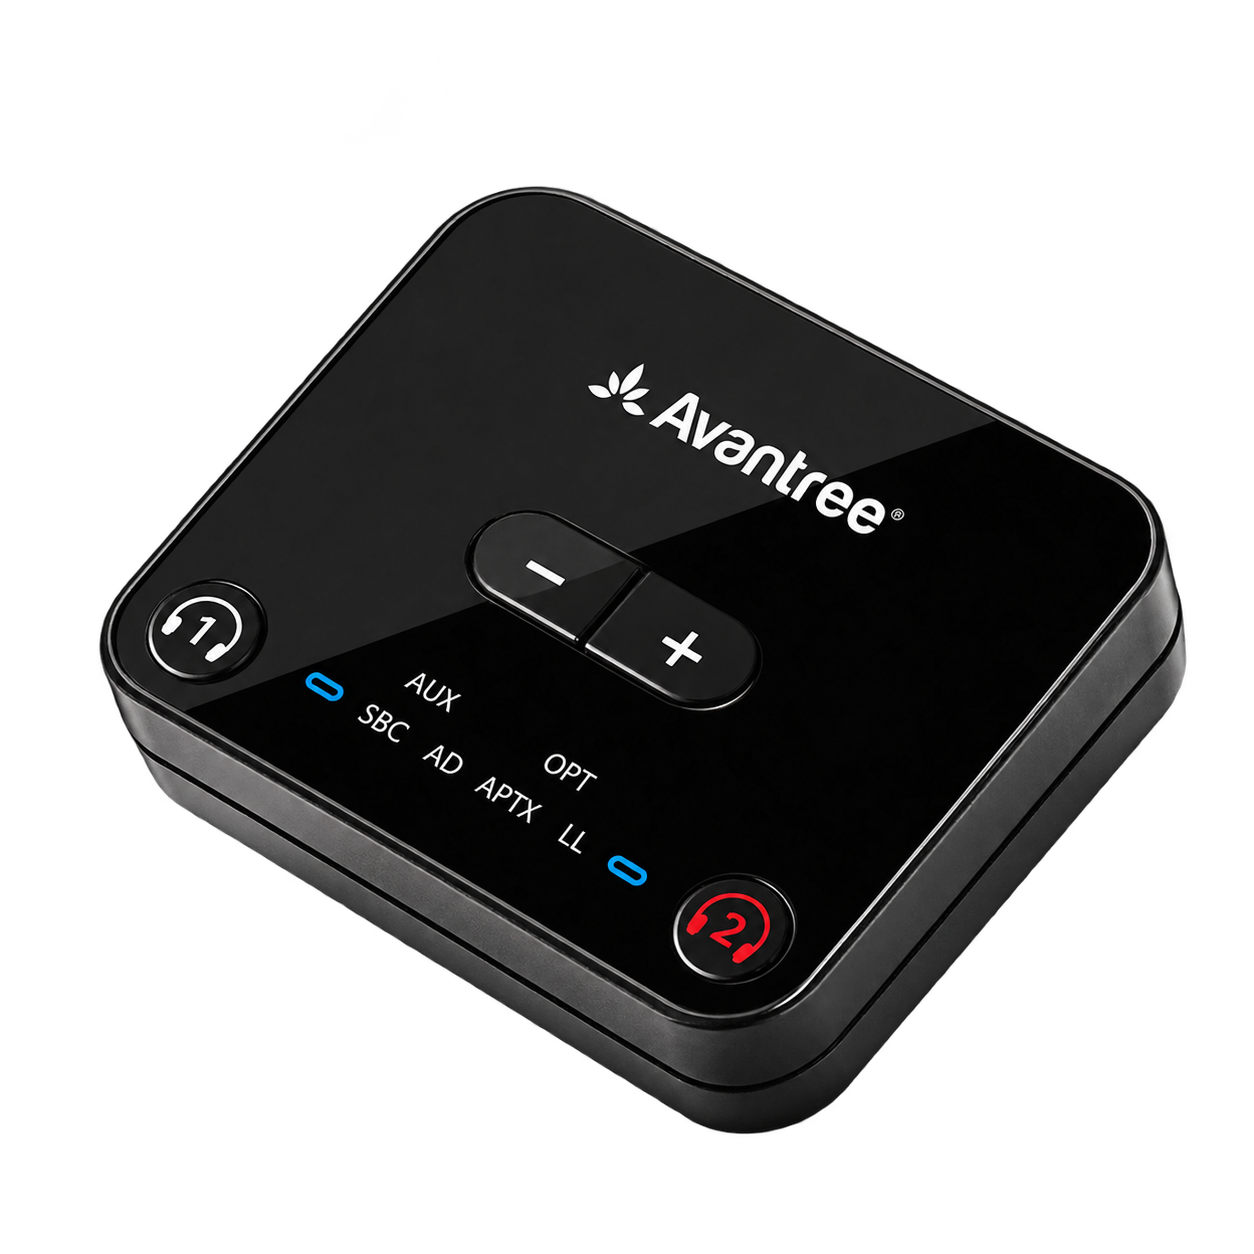 Transmitter
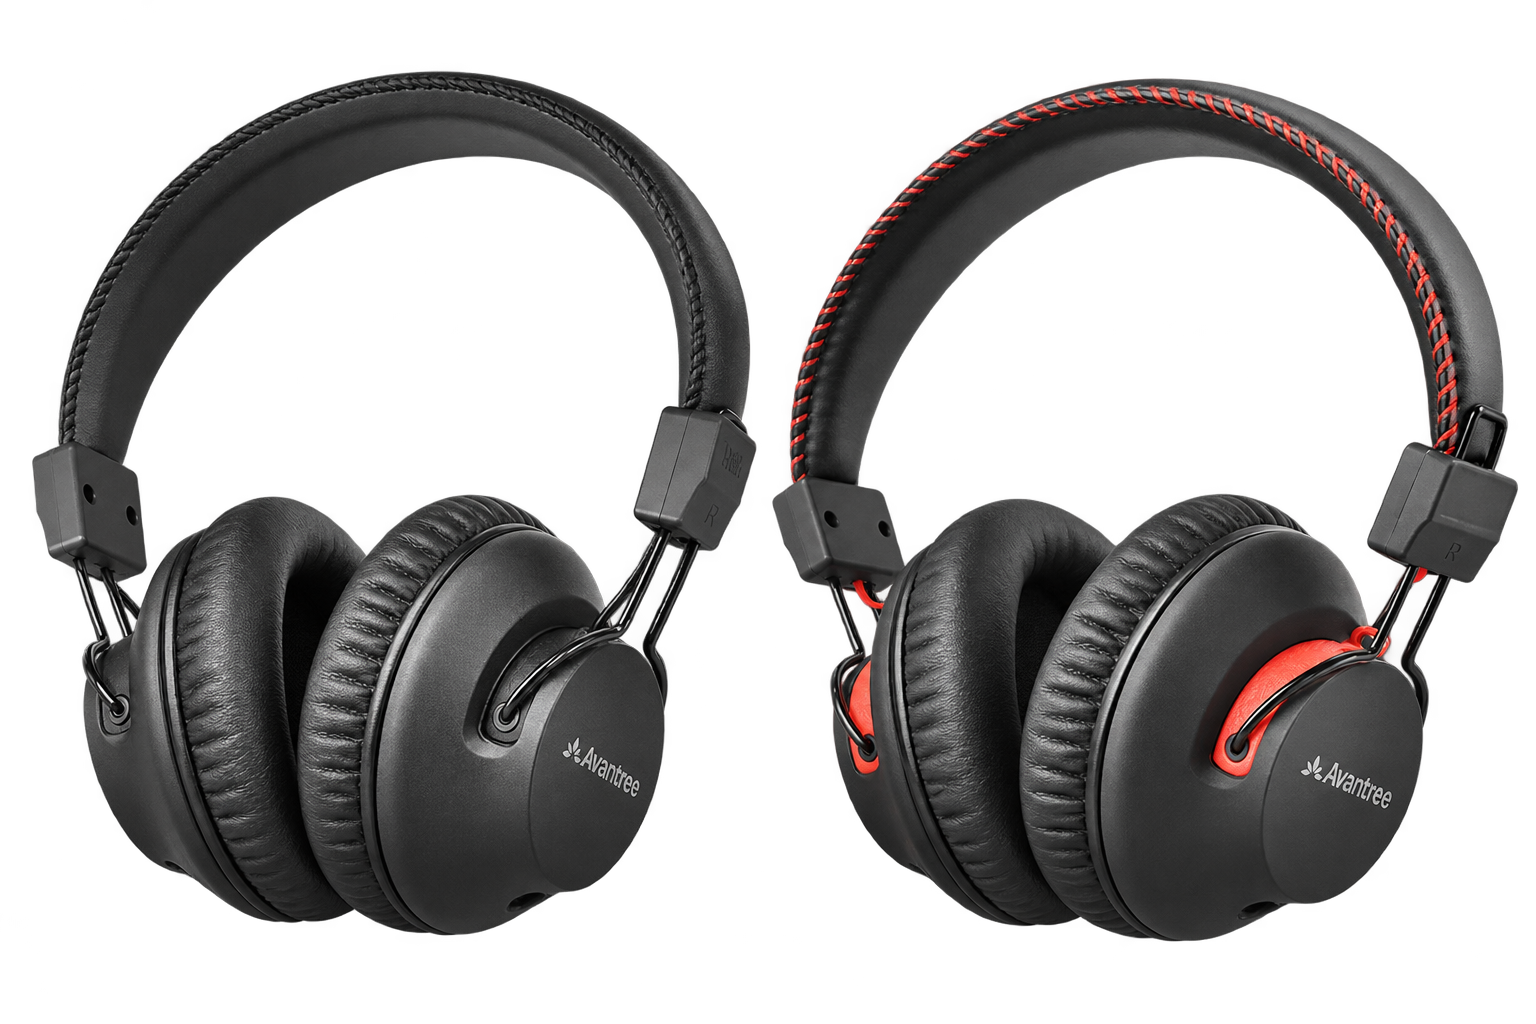 Both headphones
 Two headphonesIndependent volume
Start setup
Choose a setup method
Both headphones are Pre-paired to the transmitter. Use the kit for two listeners and low delay.
Recommended kit setup
Set up both headphones with your TV
Step 1 of 4 · Power
Power the transmitter
Watch: power the transmitter
- Plug USB-C into the transmitter.
- Plug USB-A into a powered TV USB port or 5 V, 1–2.4 A adapter.
- Slide the transmitter power switch to ON.

Power source → USB-A cable end → USB-C cable end → Transmitter
✓
Expected result: transmitter lights turn on or blink.
No light? Reconnect both cable ends and try another powered USB port or 5 V adapter.
Charging docks and USB power
Each charging dock needs its own USB-C power connection. Use a powered TV USB port or a 5 V, 1–2.4 A adapter.
USB supplies power only. Use Optical or AUX for TV sound.
See charging steps →Step 2 of 4 · Cable
Connect your TV
Check the labels beside the ports, then choose the first match below.
Not sure? Take a photo of your TV ports.Contact Support →
Connect the Optical cable
- Remove the clear protective caps from both cable ends.
- TV: plug into OPTICAL / DIGITAL AUDIO OUT.
- HT41899 Plus 2 transmitter: plug into Input from TV — OPT.
Watch: Optical connection
Ready: both plugs are fully inserted. Use only one TV audio cable.
Set TV sound →
Connect the AUX cable
- TV: plug into HEADPHONES / AUDIO OUT.
- HT41899 Plus 2 transmitter: plug into Input from TV — AUX.
- Push both blue-ended plugs in completely.
Watch: AUX connection
Ready: both plugs are fully inserted. Use only one TV audio cable.
Set TV sound →
Step 3 of 4 · TV sound
Set TV sound
Use your TV remote.
Choose your cable in Step 2 to see the matching TV settings.
Open Settings → Sound
- Sound OutputHeadphones / Audio Out
- TV volumeSet to a normal level (about 50% to start).
- Play audioPlay a program with speaking voices.
No PCM setting is needed for AUX. Some TVs mute their speakers when this cable is connected.
Find PCM steps for your TV brand
TV speakers + headphones?Check TV compatibility and steps →
✓
Expected result: the transmitter Audio Signal light is solid.
Still blinking? Check that the cable uses TV audio OUT and transmitter Input from TV. For Optical, select Optical output and PCM or Stereo, then play a program with speaking voices.
Step 4 of 4 · Listen
Turn on both headphones
The black and red headphones are already paired to their matching transmitter buttons.
- Slide both headphone switches from OFF to ON.
- Keep both near the powered transmitter for 5–10 seconds.
- Play the TV and adjust each headphone's volume separately.
✓
Success: both headphone LEDs are solid blue and both people hear TV sound.
One does not connect? Press its matching transmitter button once: black button 1 or red button 2. Wait 5–10 seconds.


After charging: if a headphone stays off, slide its switch OFF, then ON.
Setup complete. Both headphones play TV sound; each listener can adjust their own volume.
TV Bluetooth setup
Pair one headphone directly.
One headphone only. No dual standby or two-headphone connection.
Watch: pair with a Bluetooth TV
- Turn the transmitter OFF.
- Hold one headphone switch at PAIR for 3 seconds.Wait for the headphone LED to flash red and blue.
- Select Avantree AS19 in the TV Bluetooth audio list.
- Play TV sound and adjust headphone volume.Solid blue means connected.
Need both headphones?
✓
Success: one headphone is solid blue and plays TV sound.
Setup complete for one headphone. For two listeners, use the transmitter kit.
Quick fixes
Choose what is wrong.
Follow the short check, then confirm the expected result.
1Sound only on one side of a headphone
Possible cause: the source balance is off-center, or one earcup has a hardware fault.
- Test the other included headphone on the same TV program.
- On the affected headphone, confirm left/right balance is centered on the TV, phone, or PC.
- Turn the headphone off and on, then test another source.
Expected: speech plays from both earcups. If one earcup stays silent on every source, submit a ticket for hardware service.
2Only one headphone connects
Possible cause: direct TV Bluetooth supports one headphone, or a headphone reconnected to a phone or PC.
- Use the transmitter setup, not TV Bluetooth.
- Turn off Bluetooth on nearby phones/PCs so a headphone cannot reconnect there.
- Turn both headphones OFF, then ON.
- Press the matching black or red button on the transmitter once and wait 5–10 seconds.
Expected: both headphone LEDs turn solid blue. Direct TV Bluetooth supports only one included headphone at a time.
🔇No sound after setup
Possible cause: the cable uses an input instead of audio OUT, the TV output format is wrong, or volume is low.
- Confirm the cable uses TV audio OUT and transmitter Input from TV.
- For Optical, select Optical output and PCM.
- Check the transmitter Audio Signal LED: solid means valid audio; blinking means fix the TV output/settings.
- Raise each headphone's volume.
Expected: the Audio Signal LED is solid and speech plays from both headphones. Open the official no-sound guide →
⌁Hum, buzz, or crackling
Possible cause: a loose AUX plug or interference from USB power and nearby cables.
- Push the AUX plugs fully into both ports.
- Move the audio cable away from USB power adapters and other power cables.
- Try Optical if available; it avoids analog ground noise.
- Try a different 5 V USB power source.
Expected: clean audio without hum. If only one headphone hums on every source, submit a ticket.
⚡Transmitter will not turn on
Possible cause: the USB port has no power or a USB-C cable end is loose.
- Reconnect USB-C at the transmitter and the USB power source.
- Use a 5 V, 1–2.4 A source.
- Try another cable or powered USB port, then slide OFF → ON.
Expected: the transmitter lights turn on or blink. If no LED appears, submit a ticket with a photo of both cable ends.
Charging
Watch, dock, check the light.
Each dock needs USB-C power.
Watch: charge on the dock
⚡
- Power the dock: connect USB-C to a powered TV USB port or 5 V, 1–2.4 A adapter.
- Dock the headphone: align the two lightning marks.
- Check the light: reposition the headphone if no charging light appears.
Charging: white LED blinks.
Full: LED turns off after about 2 hours.
USB-C charging or headphone stays off?
Charge without the dock: connect USB-C directly to the headphone.
After docking: if the headphone stays off, slide its switch OFF, then ON.
Phone / tablet / PC Bluetooth
Pair one headphone directly.
Choose one headphone by Bluetooth, or both headphones through the transmitter.
Watch: pair with a phone or PC
- Turn the transmitter OFF.
- Hold the headphone switch at PAIR for 3 seconds.
- Open Bluetooth and select Avantree AS19.
✓
Connected: the headphone LED is solid blue.
Use both headphones with a PC
- Power the HT41899 Plus 2 transmitter by USB and slide its switch to ON.
- Connect the PC HEADPHONES / AUDIO OUT to transmitter Input from TV — AUX with the included blue-ended 3.5 mm cable.
- Select the PC headphone output and play audio.
- Turn on both headphones and adjust their volume separately.
Done: both headphone LEDs are solid blue and both play PC sound.
No sound? Check the PC output, cable ends and headphone volume. USB supplies power only.
Reference
Buttons, lights, and official help.


- MFB press
- Play/pause or reconnect; during a call, mute/unmute
- Headphone solid blue
- Connected
- Headphone blinking blue
- Not connected
- Red + blue
- Bluetooth pairing
- Audio Signal solid
- Valid TV audio
- Audio Signal blinking
- Invalid/no TV audio
- Playtime
- Up to 50 hours (current product specification)